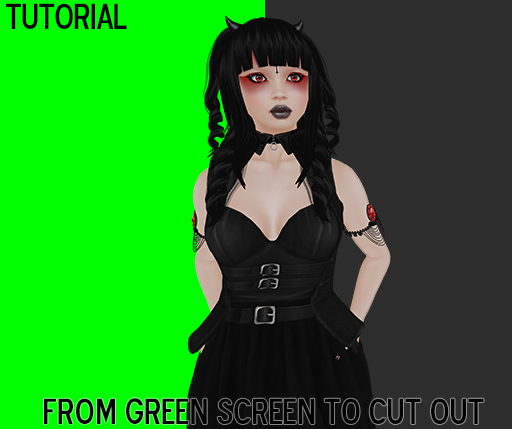
so i see a lot of people asking for help with this and figured it would be awesome to do a little tutorial.
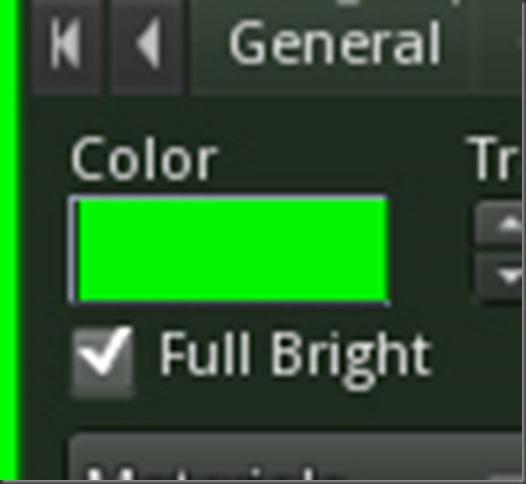
the very very very important thing you must remember when doing something like this is MAKE YOUR GREENSCREEN FULL BRIGHT!
your “greenscreen” does not actually have to be green, but it must be a solid colour with no shadows.
edit the object and go to the texture tab of your edit window, then change the colour to a bright colour, its best not to use a colour that will be in your finished cut out, so if you are wearing green, avoid green, if you are wearing pink, avoid pink, ect. i find that the bright colours on the bottom row of the colour picker work best for this kind of thing.
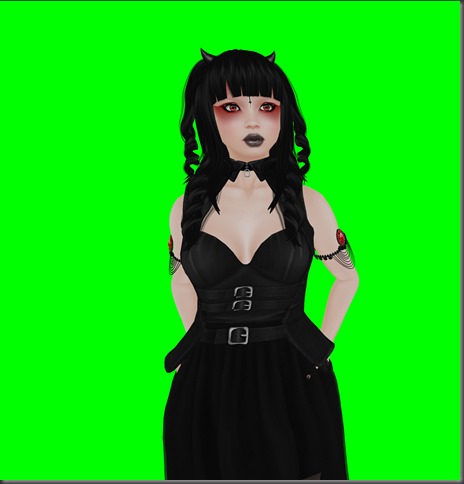
now that your screen is prepared, take your photo, the higher the resolution the better, my photo size is 4000 x 2376 but i then cropped out the excess useless space (photo is scaled down for blog purposes)
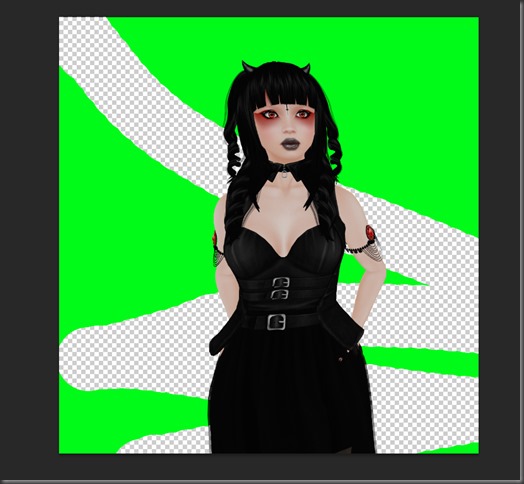
so now we have a photo and we need to get rid of that awful eye gouging green background so we can insert something pretty behind it instead!
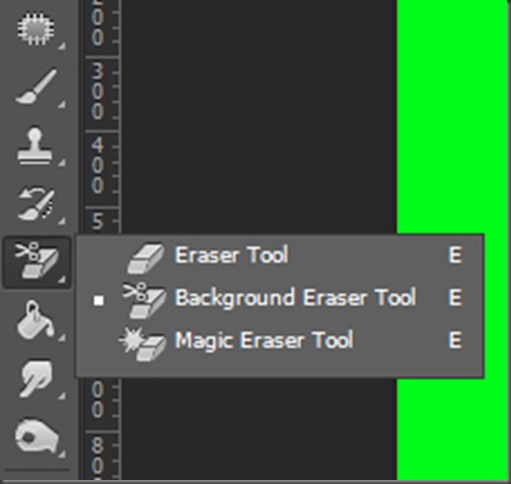
for this we use the background eraser tool!
there are many methods for greenscreen removal but this is the one that i like the best.
the background eraser tool is hidden under your eraser tool in photoshop. to access it, click on the eraser tool icon and hold your mouse button down. extra buttons will appear!
this is actually a good thing to remember for most of the tools in that panel. anything with a little triangle in the corner has extra tools hidden in a menu like that. just click and hold to access.
for this instance we select the background eraser tool. magic eraser tool can do a lot of this same work but in my experience the results are not as clean.
after you switch to the background eraser tool, some settings will appear in the top bar over your image.
please make sure your settings mirror mine.
one note to this, the tolerance level works best on 100%, sometimes for some weird reason or another you might need to lower that tolerance, like if you are wearing rainbow hair and you can’t find a background colour not present in the spectrum of your hair texture, you could lower the tolerance to try and clean up around it without totally removing it. 100% is best though, and you might end up with weird artifacts around the edges if you don’t work with it at 100%.
now that you have that set up, all you have to do is erase!
simply erase in the green area, as long as you start in the green and hold down the mouse button while dragging, you will only erase the green, the rest of the image is safe!
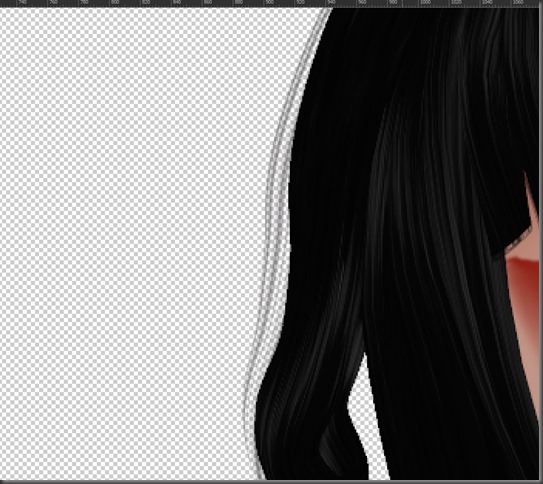
no green! even in the wispy hairs!
as an added step, i make a new layer under the cut out and fill it with a dark colour to make sure there is nothing left over from the removal.
looks good to me!
i hope this helps! you CAN use this on white backgrounds however you might run into trouble with high lights in your image, so your best bet is to always use a brightly coloured background instead of white!

