how to make a caspervend voucher for gachas!

what you will need:
caspervend
the caspervend giftcard system
a little time
patience for my dumb ass trying to do a tutorial.

first note, all of this info is laid out in the caspervend wiki giftcard section but for some reason when i read the wiki it seems over complicated, so i hope this will make it easier to understand.

this tutorial assumes you already know how to set up a simple vendor for your content

make your gacha items, package them, and place them into your caspervend server, you will want to make sure they are perm’ed as no transfer, and copy, as if they were normal items in your shop not a gacha. these are the items the voucher will be redeeming.

you will then need to make them into “products” on the caspervend page. i usually make the rare (since i do rare fatpacks) and then create “variants” for the individual gacha items.

you can price them as your pull price or at zero, it doesn’t matter since no one is going to be paying for these items.

back to second life!

inworld you need to rez a vendor, and i have also rezzed a giftcard but if you’ve never done this before you will probably need to rez a fresh one. i use headless vendors so mine don’t look like caspervend but they are.

it does not matter what picture is on your vendor we are just going to associate it with the products we made on the casper page. you can do this one by one or you can rez a vendor for each product if that’s quicker for you.

click the vendor and hit admin. it will give you a link to go to

now we’re back on the casper website. change the vendor name to whatever the gacha item is and then on the “single product” drop down find your gacha item that you made in products.

now we’re back in sl. rez a fresh giftcard, it will yell at you to make it and the script no copy, do that or it won’t let you do anything until you do. i made myself a gift card with all perms set so that i don’t have to do that more than once. that’s all up to you. name the giftcard whatever your item is and put VOUCHER or something like that at the end so you can keep up with it in your folders and stuff.

after you get that done you just type set product, it will ask you in hover text over the card to touch a vendor. you will then click the vendor you just made

(mine has an image on it because i used the card before i took this picture)

after you click the vendor it will bring your dropdown menu down but you can ignore that safely, you will see that your giftcard now has a small picture with a “buy now” button below it in one corner. you can now take that object into your inventory… it is a voucher and can be redeemed only once by your gacha players.

finally load it into your gacha machine of choice.

when the customer receives your voucher, they can choose to either resell/trade/gift/ect the voucher to others as it is no copy. when they wear it and click the button (default says buy now but you can make your own button if you want) your caspervend server will send them the copy, no trans version you put in there. thus removing the need to trade in products. more happy customers! win win all around!

while this might seem like a daunting task at first, after its set up it goes pretty quick. i kept a vendor and giftcard rezzed out on my platform at all times and would just change names and reassociate it to different products as needed.

i also used this method to distribute items to my bloggers, as it would make it so they were in my redelivery system and were able to retrieve products i sent them without having to ask me for a manual redelivery, it also allowed them to receive updates without me having to do it by hand. lots of great uses!

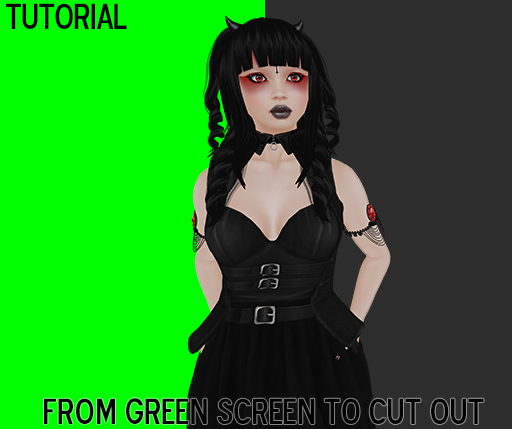
so you want to remove a green screen?

so i see a lot of people asking for help with this and figured it would be awesome to do a little tutorial.

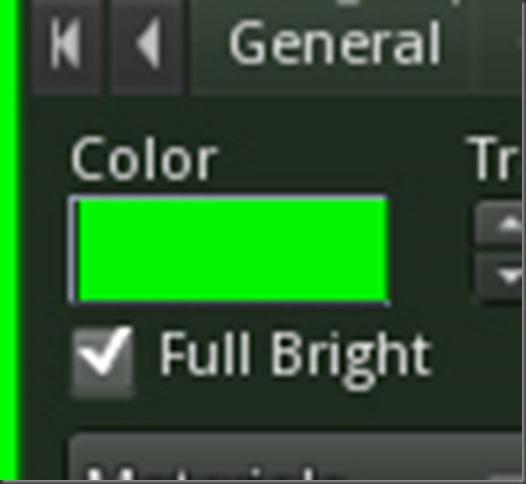
the very very very important thing you must remember when doing something like this is MAKE YOUR GREENSCREEN FULL BRIGHT!

greenscreen-fullbright

your “greenscreen” does not actually have to be green, but it must be a solid colour with no shadows.

edit the object and go to the texture tab of your edit window, then change the colour to a bright colour, its best not to use a colour that will be in your finished cut out, so if you are wearing green, avoid green, if you are wearing pink, avoid pink, ect. i find that the bright colours on the bottom row of the colour picker work best for this kind of thing.

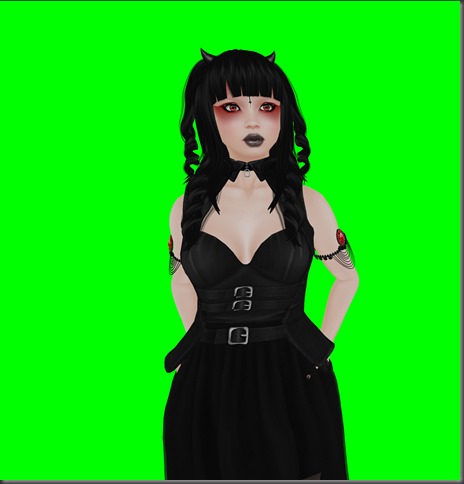
now that your screen is prepared, take your photo, the higher the resolution the better, my photo size is 4000 x 2376 but i then cropped out the excess useless space (photo is scaled down for blog purposes)

greenscreen-photo

so now we have a photo and we need to get rid of that awful eye gouging green background so we can insert something pretty behind it instead!

for this we use the background eraser tool!

there are many methods for greenscreen removal but this is the one that i like the best.

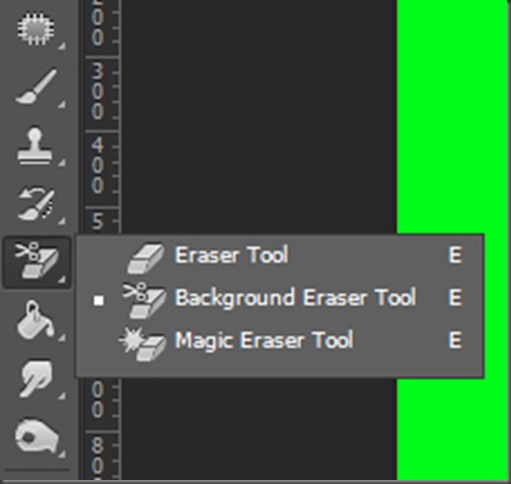
the background eraser tool is hidden under your eraser tool in photoshop. to access it, click on the eraser tool icon and hold your mouse button down. extra buttons will appear!

background-eraser-tool

this is actually a good thing to remember for most of the tools in that panel. anything with a little triangle in the corner has extra tools hidden in a menu like that. just click and hold to access.

for this instance we select the background eraser tool. magic eraser tool can do a lot of this same work but in my experience the results are not as clean.

after you switch to the background eraser tool, some settings will appear in the top bar over your image.

top-options-bar

please make sure your settings mirror mine.

one note to this, the tolerance level works best on 100%, sometimes for some weird reason or another you might need to lower that tolerance, like if you are wearing rainbow hair and you can’t find a background colour not present in the spectrum of your hair texture, you could lower the tolerance to try and clean up around it without totally removing it. 100% is best though, and you might end up with weird artifacts around the edges if you don’t work with it at 100%.

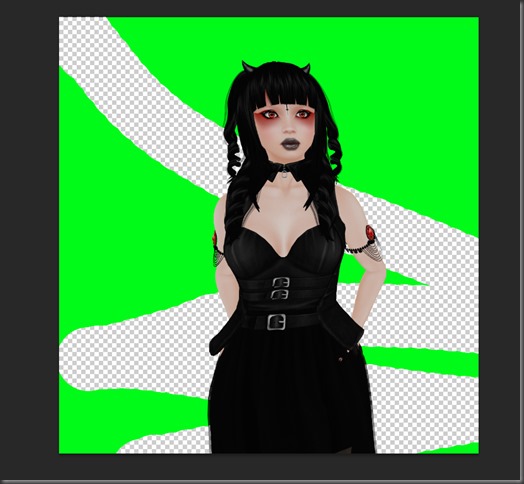
now that you have that set up, all you have to do is erase!

erase

simply erase in the green area, as long as you start in the green and hold down the mouse button while dragging, you will only erase the green, the rest of the image is safe!

no-green

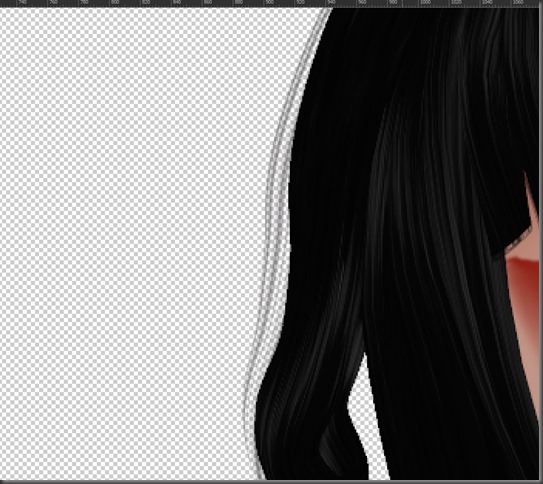
no green! even in the wispy hairs!

as an added step, i make a new layer under the cut out and fill it with a dark colour to make sure there is nothing left over from the removal.

checking

looks good to me!

i hope this helps! you CAN use this on white backgrounds however you might run into trouble with high lights in your image, so your best bet is to always use a brightly coloured background instead of white!

how to (possibly) get viewer “3” to work

i’ve noticed a few people have mentioned on plurk that they cannot get the newest LL viewer to work for them. i had this problem too, and i was given a solution by oriana kuhr that helped me get the stupid thing to work. this work around is for people who have a 64bit windows OS.

when you install the viewer, it will most likely install it to the default x86 program files folder. for some reason this is causing problems with the viewer, making it strangely unstable, or just not even run. for me, i couldn’t get the damn thing to even load past the login screen.

to remedy this, you must install the viewer outside of that x86 folder which is so simple, even a blingtard could do it.

when you are installing, and see a window like this:

8-26-2011-2-41-06-PM-0e86

just click in the box and edit out the (x86) portion. (ignore my drive letter, i install second life viewers to a different hard drive)

your box should now look like this:

8-26-2011-2-41-23-PM-5084

just hit install and the rest is as normal!

i hope this helps some of you get your viewer to work!

Edited to add:

more tutorials are popping up for other issues with this new viewer. if my work around doesn’t work, try this!

change your DNS to combat lag – QueenKellee